
Animation with Krita
Thanks to the 2015 Kickstarter, Krita has animation. In specific, Krita has frame-by-frame raster animation. There’s still a lot of elements missing from it, like tweening, but the basic workflow is there.
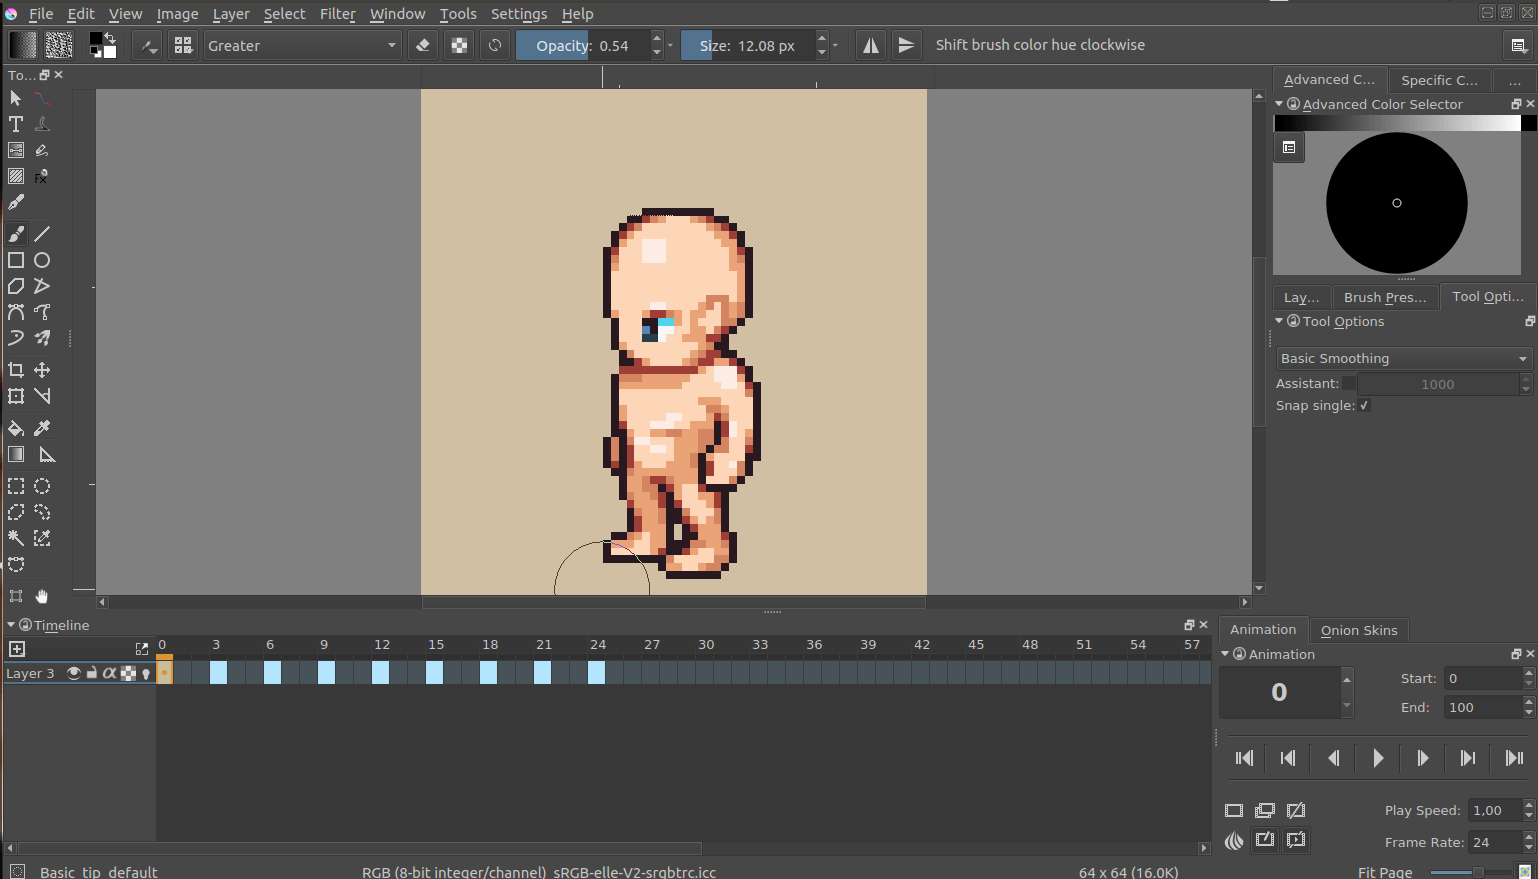
To access the animation features, the easiest way is to change your workspace to Animation. This will make the animation dockers and workflow appear.
Note
New in version 4.1: The Timeline docker looks a bit different from the screenshots shown in this tutorial, however you should be able to follow it if you take care to select options mentioned in text.
Animation curves
To create an animation curve (currently only for opacity) expand the New Frame button in the Animation dock and click Add Opacity Keyframe. You can now edit the keyframed value for opacity directly in the “Layers” dock, adding more keyframes will by default fade from the last to the next upcoming keyframe in the timeline over the frames between them. See animation curves for details.
Workflow
In traditional animation workflow, what you do is that you make key frames, which contain the important poses, and then draw frames in between (tweening in highly sophisticated animator’s jargon).
For this workflow, there are three important dockers:
The Timeline Docker. View and control all of the frames in your animation. The timeline docker also contains functions to manage your layers. The layer that are created in the timeline docker also appear on the normal Layer docker.
The Animation Docker. This docker contains the play buttons as well as the ability to change the frame-rate, playback speed and useful little options like auto-key framing.
The Onion Skin Docker. This docker controls the look of the onion skin, which in turn is useful for seeing the previous frame.
Introduction to animation: How to make a walkcycle
The best way to get to understand all these different parts is to actually use them. Walk cycles are considered the most basic form of a full animation, because of all the different parts involved with them. Therefore, going over how one makes a walkcycle should serve as a good introduction.
Setup
First, we make a new file:
On the first tab, we type in a nice ratio like 1280x1024, set the dpi to 72 (we’re making this for screens after all) and title the document ‘walkcycle’.
In the second tab, we choose a nice background color, and set the background to canvas-color. This means that Krita will automatically fill in any transparent bits with the background color. You can change this in . This seems to be most useful to people doing animation, as the layer you do animation on MUST be semi-transparent to get onion skinning working.
Note
Krita has a bunch of functionality for meta-data, starting at the Create Document screen. The title will be automatically used as a suggestion for saving and the description can be used by databases, or for you to leave comments behind. Not many people use it individually, but it can be useful for working in larger groups.
Then hit Create!
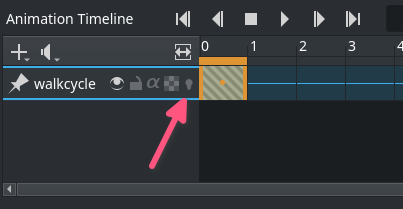
Then, to get all the necessary tools for animation, select the workspace switcher:
The red arrow points at the workspace switcher.
And select the animation workspace.
Which should result in this:
The animation workspace adds the timeline, animation and onion skin dockers at the bottom.
Animating
We have two transparent layers set up. Let’s name the bottom one ‘environment’ and the top ‘walkcycle’ by double clicking their names in the layer docker.
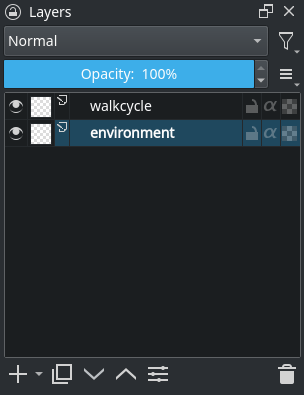
Use the straight line tool to draw a single horizontal line. This is the ground.
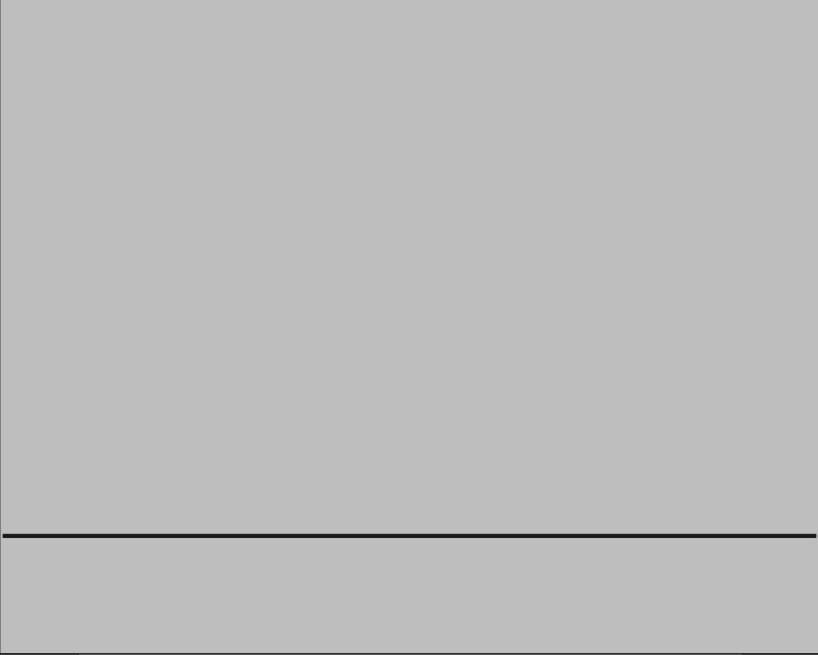
Then, select the ‘walkcycle’ layer and draw a head and torso (you can use any brush for this).
Now, selecting a new frame will not make a new frame automatically. Krita doesn’t actually see the ‘walkcycle’ layer as an animated layer at all!
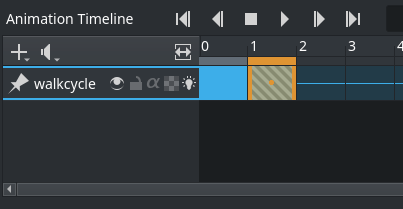
We can make it animatable by adding a frame to the timeline.  a frame in the timeline to get a context menu. Choose Create Duplicate Frame.
Attention
If you select Create Blank Frame, the content of the layer will be dropped and a new blank frame will appear; since you want to preserve the image, you need to use Create Duplicate Frame.
You can see it has become an animated layer because of the onion skin icon showing up in the timeline docker.
Use the Create Duplicate Frame button to copy the first frame onto the second. Then, use the Move Tool (switch to it using the T shortcut) with the Shift + ↑ shortcut to move the frame contents up.
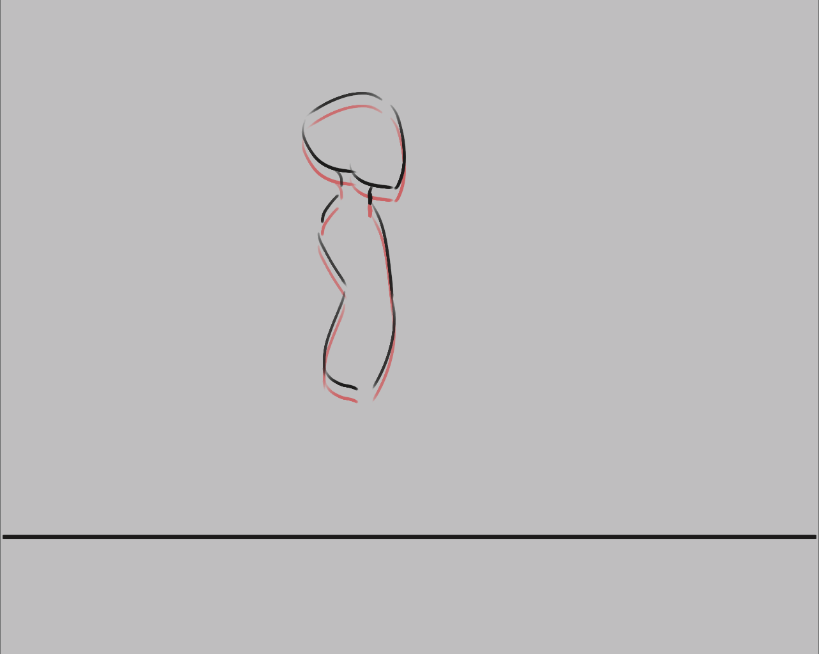
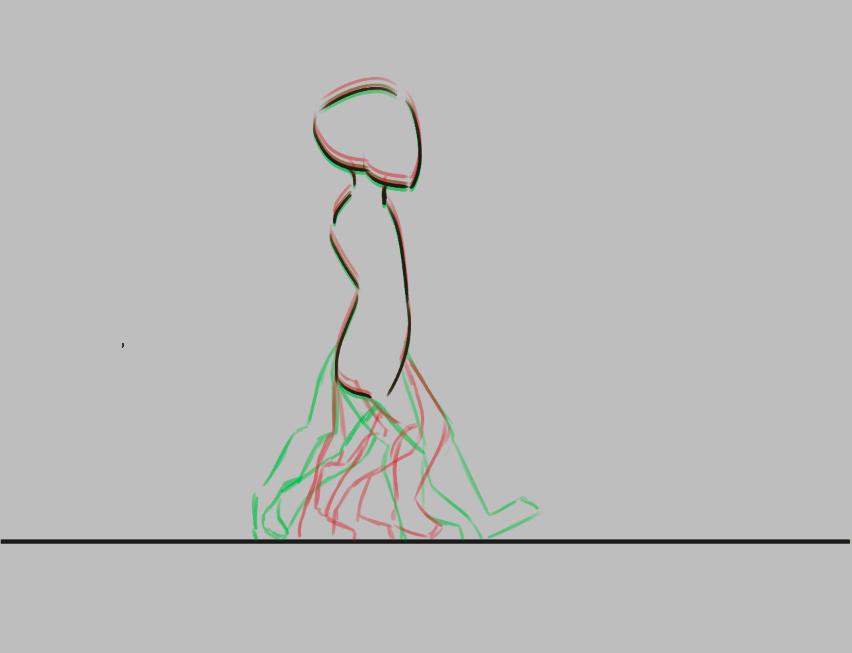
We can see the difference by turning on the onionskinning:
Now, you should see the previous frame as red.
Warning
Krita sees white as a color, not as transparent, so make sure the animation layer you are working on is transparent in the bits where there’s no drawing. You can fix the situation by use the Color to Alpha filter, but prevention is best.
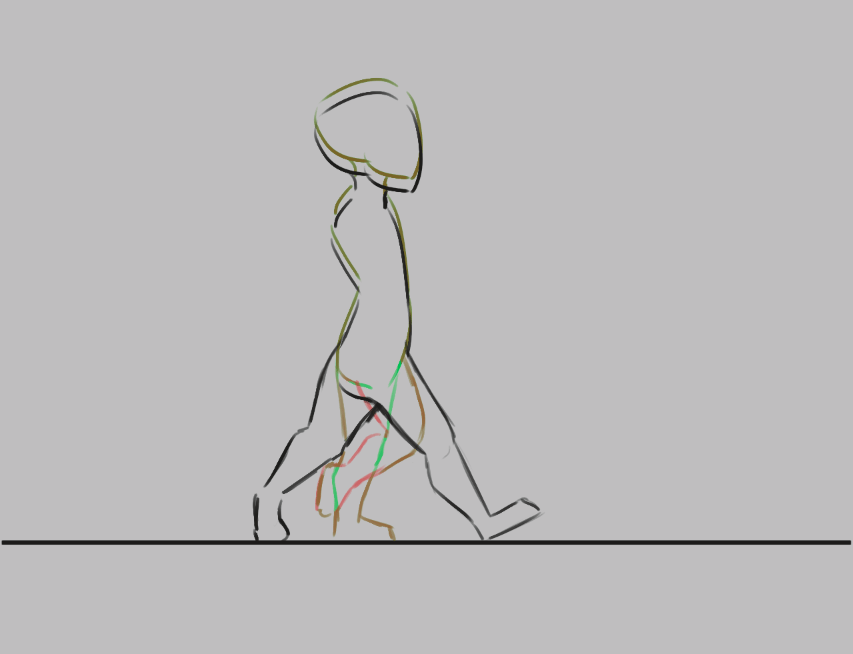
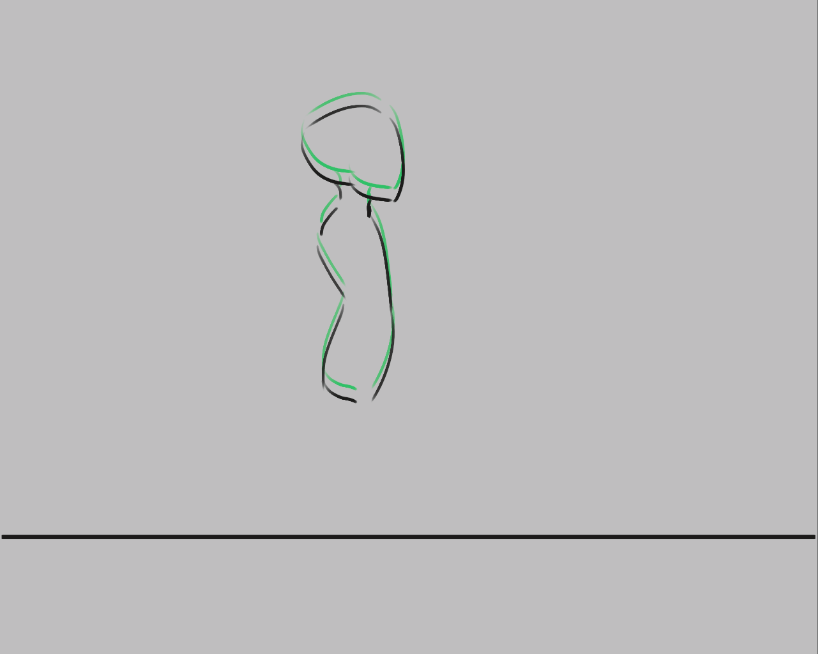
Future frames are drawn in green, and both colors can be configured in the onion skin docker.
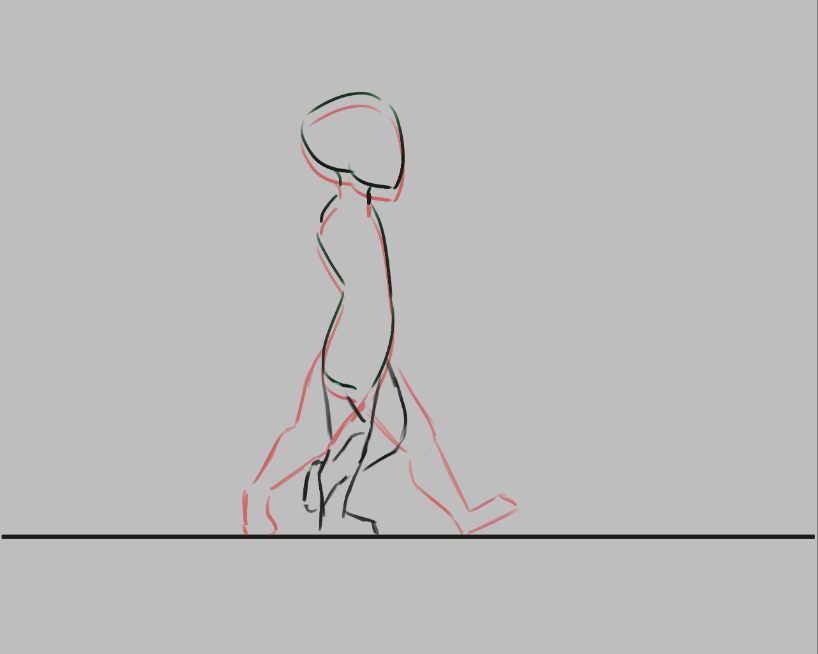
Now, we’re gonna draw the two extremes of the walkcycle. These are the pose where both legs are as far apart as possible, and the pose where one leg is full stretched and the other pulled in, ready to take the next step.
Now, let’s copy these two… We could do that with the Ctrl + drag shortcut, but here comes a tricky bit:
Ctrl +  also selects and deselects frames, so to copy…
Ctrl +
to select all the frames you want to select.Ctrl + drag. You need to make sure the first frame is ‘orange’, otherwise it won’t be copied along.
Now then…

Squashed the timeline docker a bit to save space.
Copy frame 0 to frame 2.
Copy frame 1 to frame 3.
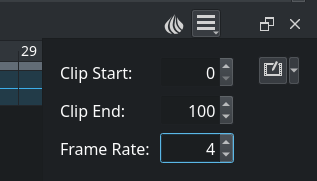
In the animation docker, set the frame-rate to 4.
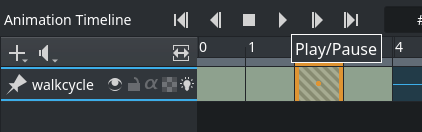
Select all frames in the timeline docker by dragging-selecting them.
Press play in the animation docker.
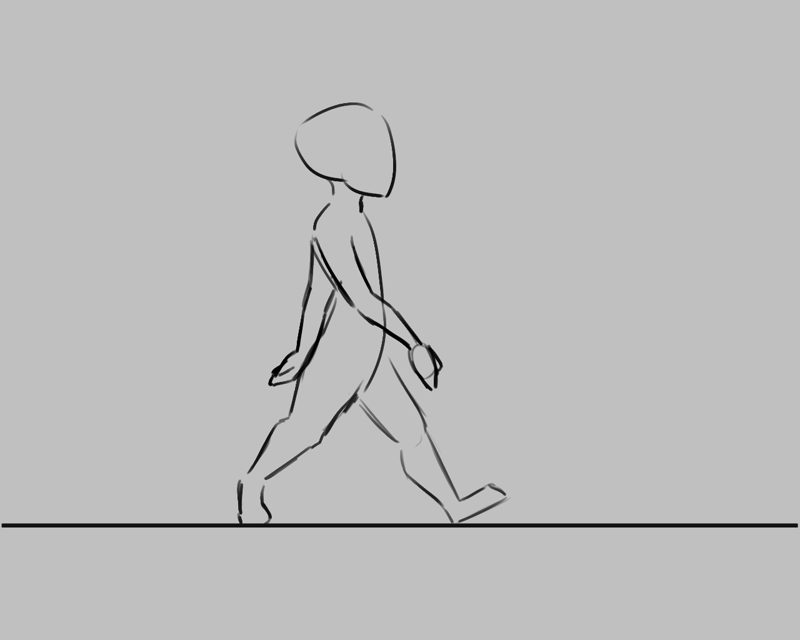
Enjoy your first animation!
Expanding upon your rough walkcycle
You can quickly make some space by the Alt + drag shortcut on any frame. This’ll move that frame and all others after it in one go.
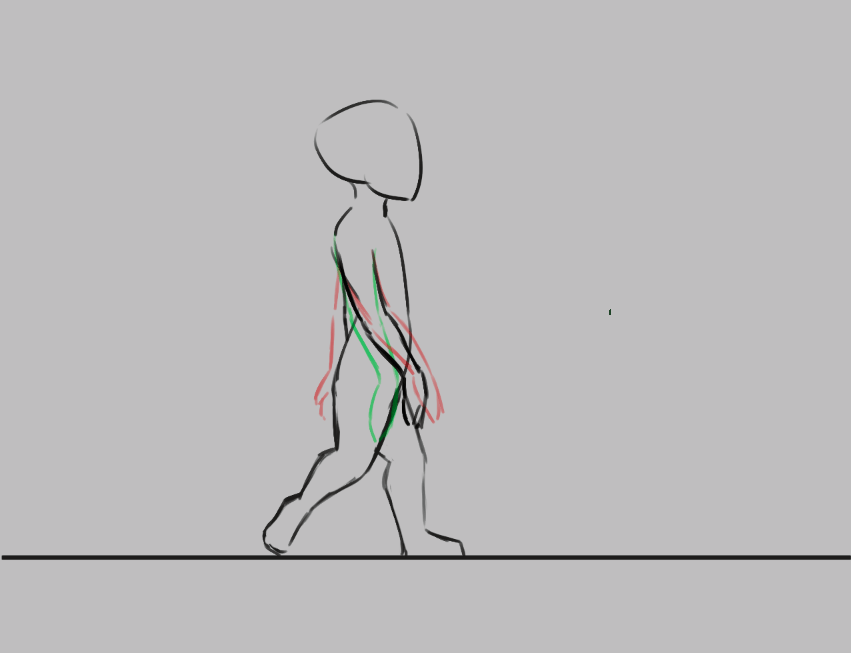
Then draw inbetweens on each frame that you add.

You’ll find that the more frames you add, the more difficult it becomes to keep track of the onion skins.
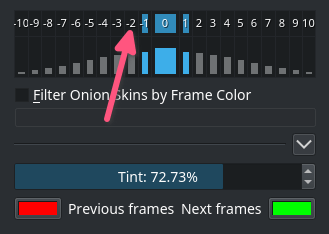
You can modify the onion skin by using the onion skin docker, where you can change how many frames are visible at once, by toggling them on the top row. The bottom row is for controlling transparency, while below there you can modify the colors and extremity of the coloring.
Animating with multiple layers
Okay, our walkcycle is missing some hands, let’s add them on a separate layer. So we make a new layer, and name it hands and…

Our walkcycle is gone from the timeline docker! This is a feature actually. A full animation can have so many little parts that an animator might want to remove the layers they’re not working on from the timeline docker. So you manually have to add them.
New in version 4.3.0: In Krita 4.3.0 and later, all new layers are pinned to the timeline by default.
To show a layer whether it’s active or not, you can “pin” it to the timeline by right-clicking on the layer in the layer docker, and toggling Pin to Timeline. We recommend pinning any layers that you’re currently animating on.

Exporting
When you are done, select . To render to a video file, you’ll need a program called FFmpeg. To learn more, please read Render Animation.

Enjoy your walkcycle!
Importing animation frames
In Krita you can import animation frames.
First let us take a sprite sheet from Open Game Art. (This is the Libre Pixel Cup male walkcycle).
We’ll use to split up the sprite sheet.
The slices are even, so for a sprite sheet of 9 sprites, use 8 vertical slices and 0 horizontal slices. Give it a proper name and save it as png.
Then, make a new canvas, and select . This will give you a little window. Select Add images. This should get you a file browser where you can select your images.
You can select multiple images at once.
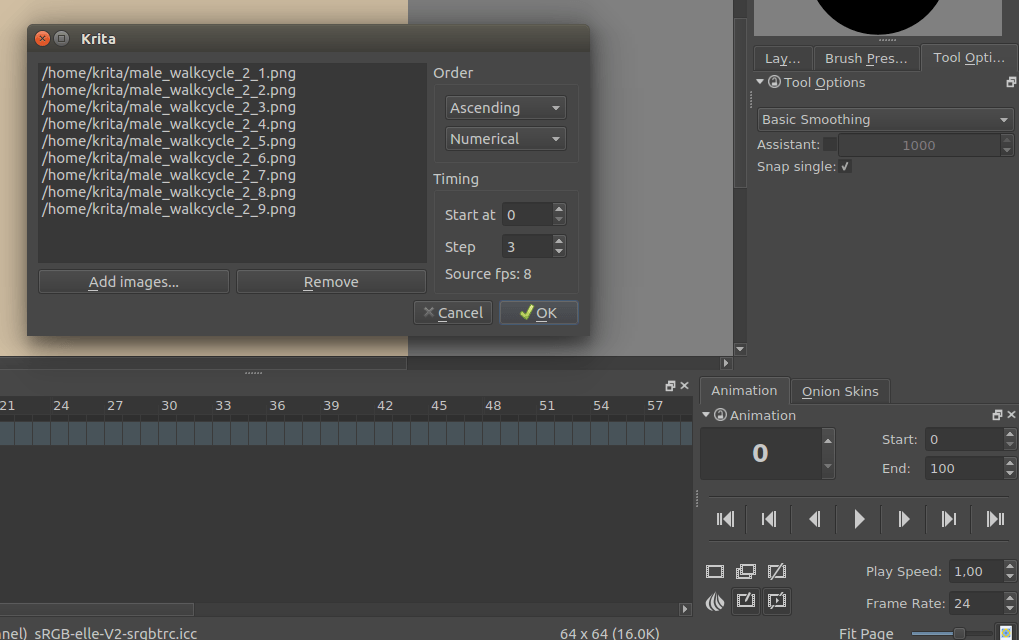
The frames are currently automatically ordered. You can set the ordering with the top-left two drop-down boxes.
- Start
Indicates at which point the animation should be imported.
- Step
Indicates the difference between the imported animation and the document frame rate. This animation is 8 frames big, and the fps of the document is 24 frames, so there should be a step of 3 to keep it even. As you can see, the window gives feedback on how much fps the imported animation would be with the currently given step.
Press OK, and your animation should be imported as a new layer.


0 Comentarios